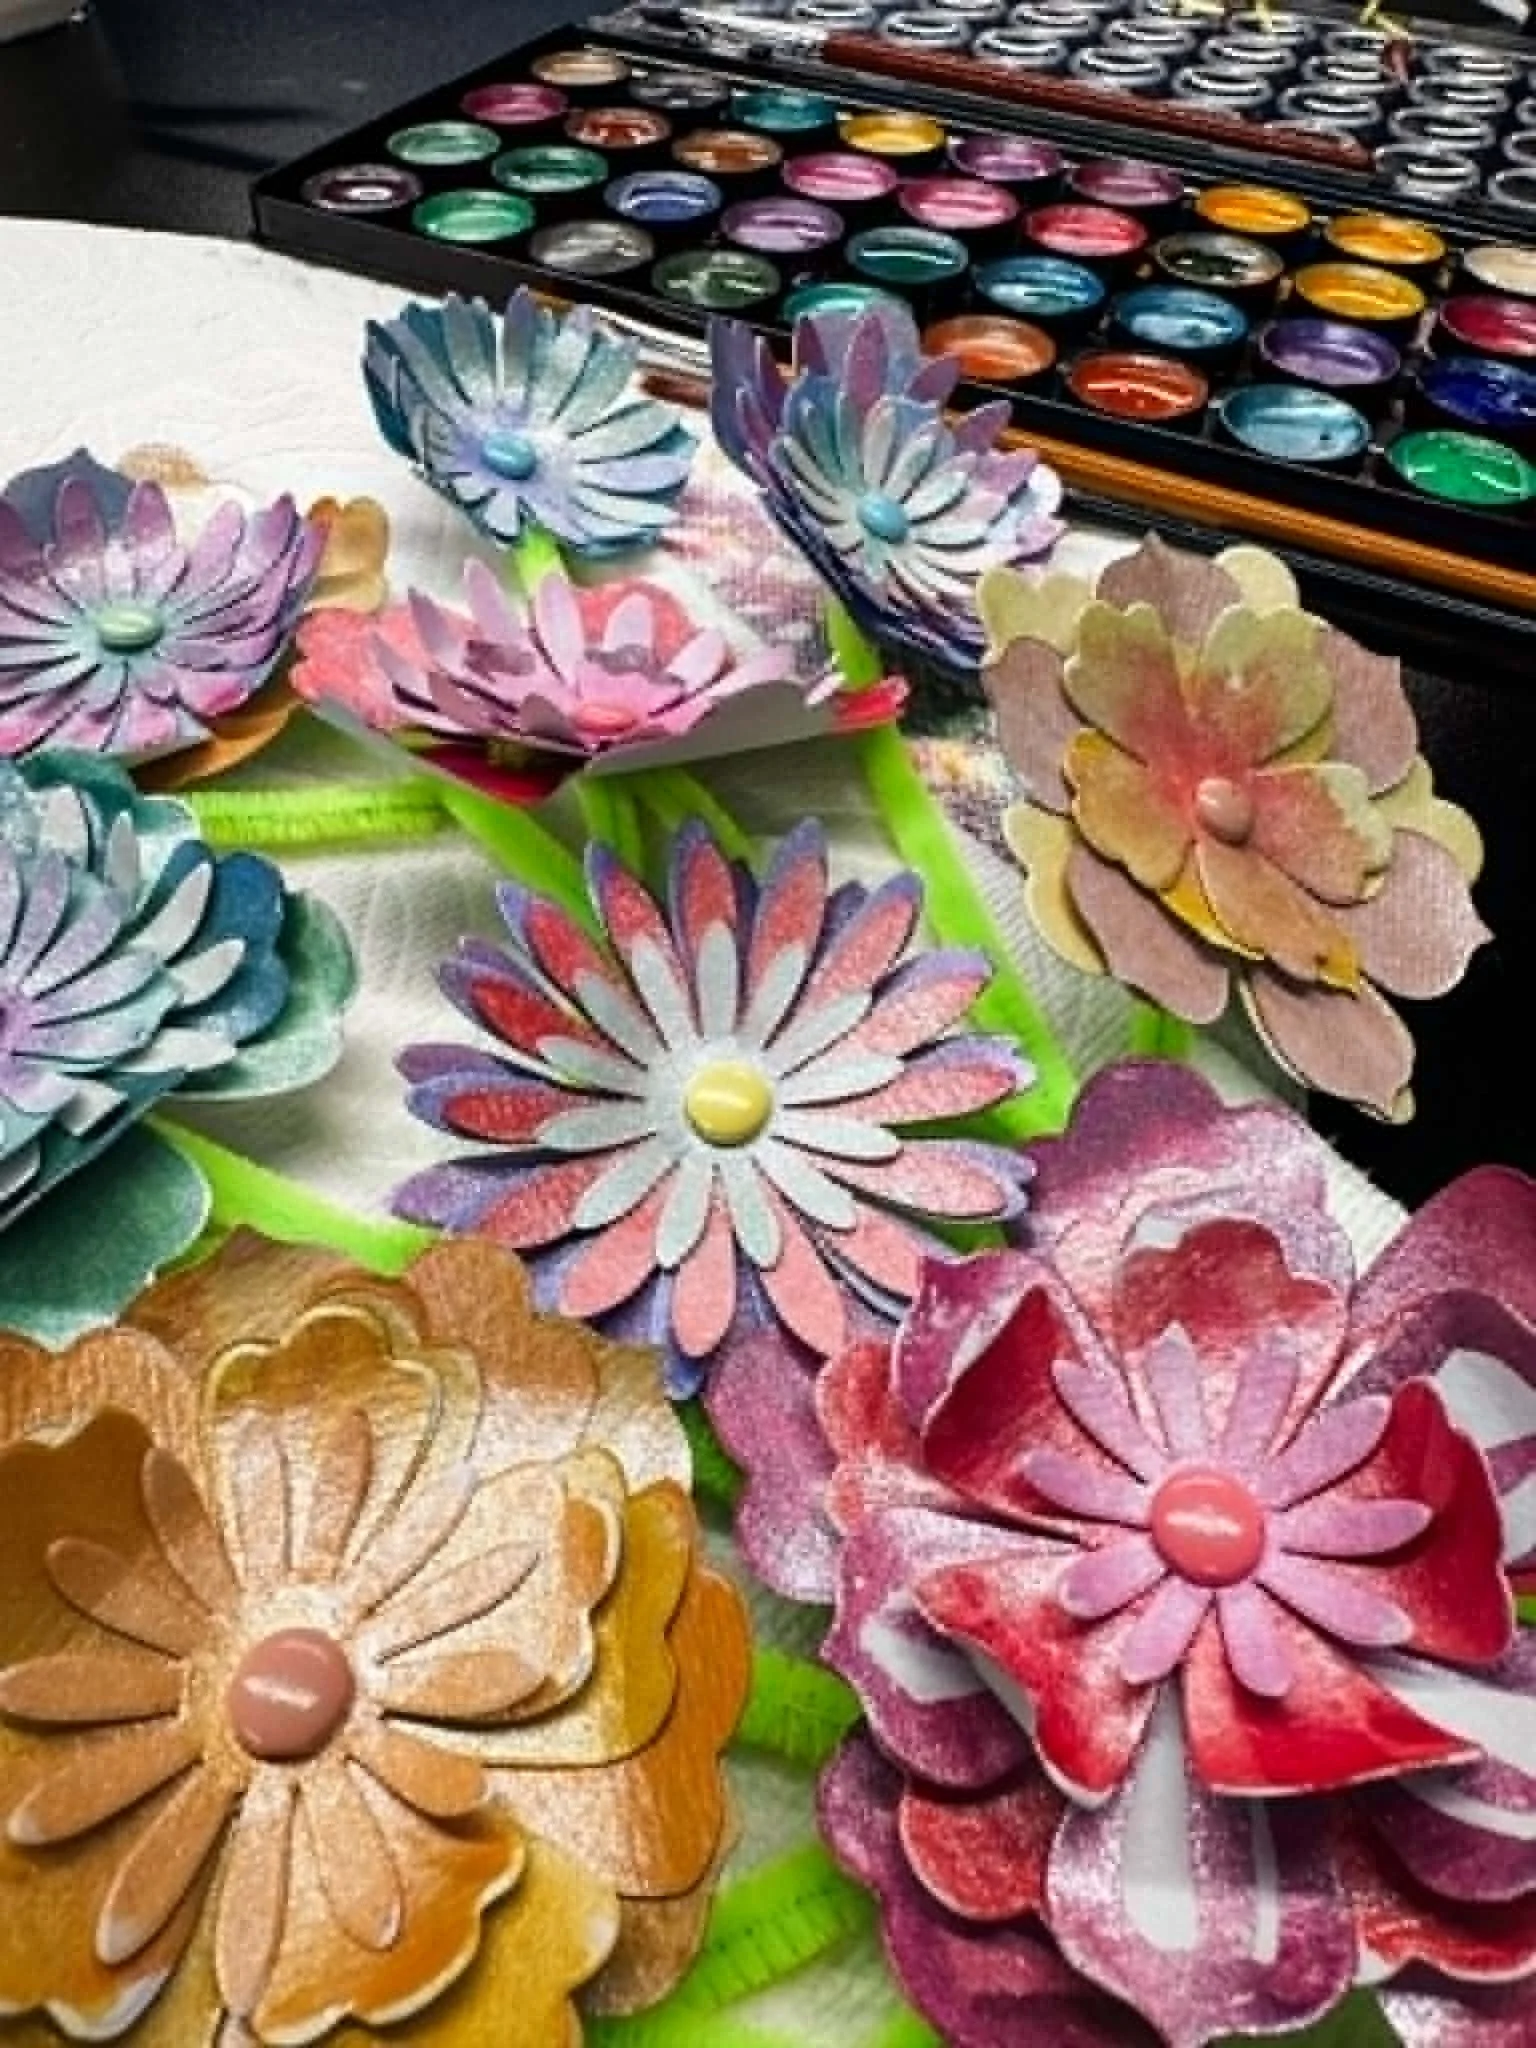
Watercolour Paper Flowers
Paint
〰️
Shape
〰️
Bloom
〰️
Paint 〰️ Shape 〰️ Bloom 〰️
Create unique watercolour flowers in this relaxing creative workshop.
In this workshop, you will learn how to create your very own unique paper flower using watercolour painting. No experience is needed, as watercolour is a beginner-friendly medium - you can let your creativity flow freely!
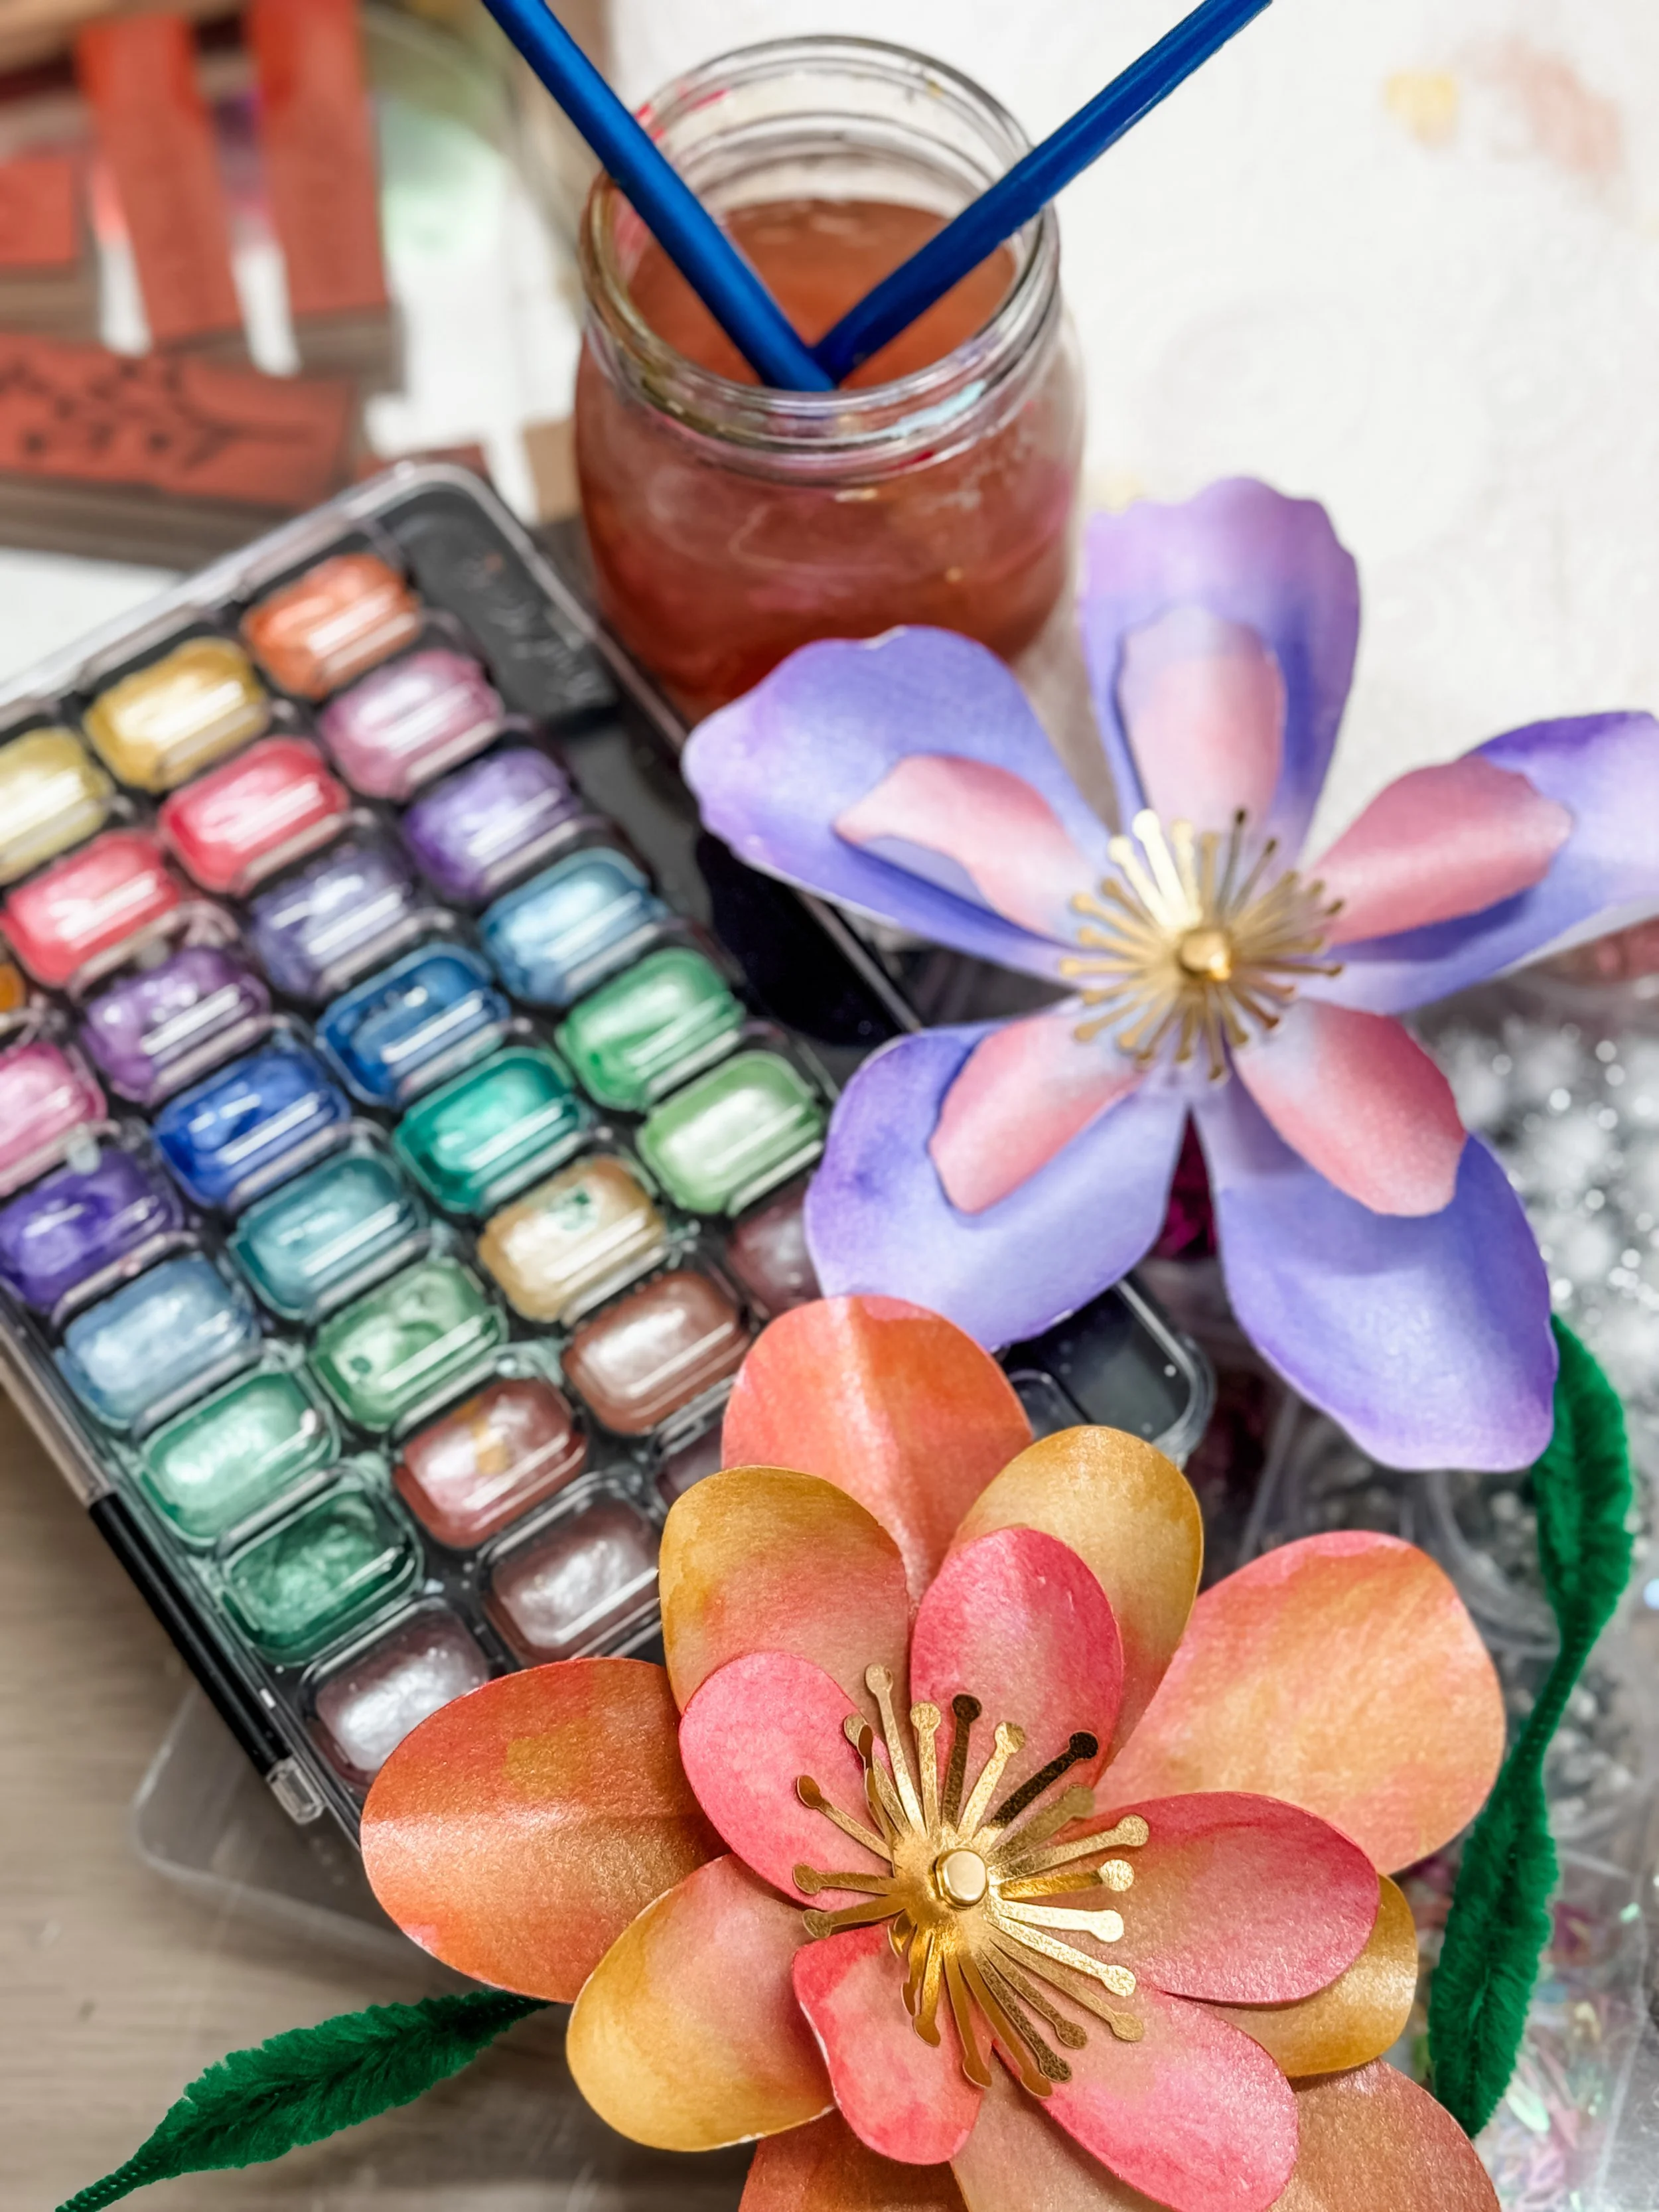
Select from a variety of pre-cut watercolour paper flowers.
Paint them with any colours or patterns you desire.
Shape and curl the petals once dry, and assemble them onto a stem.
As you delve into watercolour painting, you'll feel a sense of relaxation and creative zen that will stay with you. The experience of painting and crafting your paper flowers will be both soothing and enjoyable. At the end of the workshop, you'll take home your beautiful bunch of watercoloured paper flowers, a tangible reminder of your time immersed in creativity.
Bring your buddies or come alone, your creative community is waiting.
What you’ll get
🎨 All paints, brushes, and blank paper flowers provided
🌈 Step-by-step guidance in a fun, relaxed environment
🥂 BYO drinks + nibbles to make it a social experience
✨ A bold and vibrant artwork to take home
Knowledge required
Zero. Zilch. Nada. This workshop is for everyone—from “I can’t draw a stick figure” to “secret creative genius.”
What to bring
Just yourself, your energy, and any drinks or snacks you’d like.
Suitable for
Perfect for:
Creative catch-ups with friends
A relaxed date night
Birthday celebrations,
Hens parties
Baby Showers
Team Buidling events
Cost: $65 per person, min 5 Private party
Duration: 2 hours
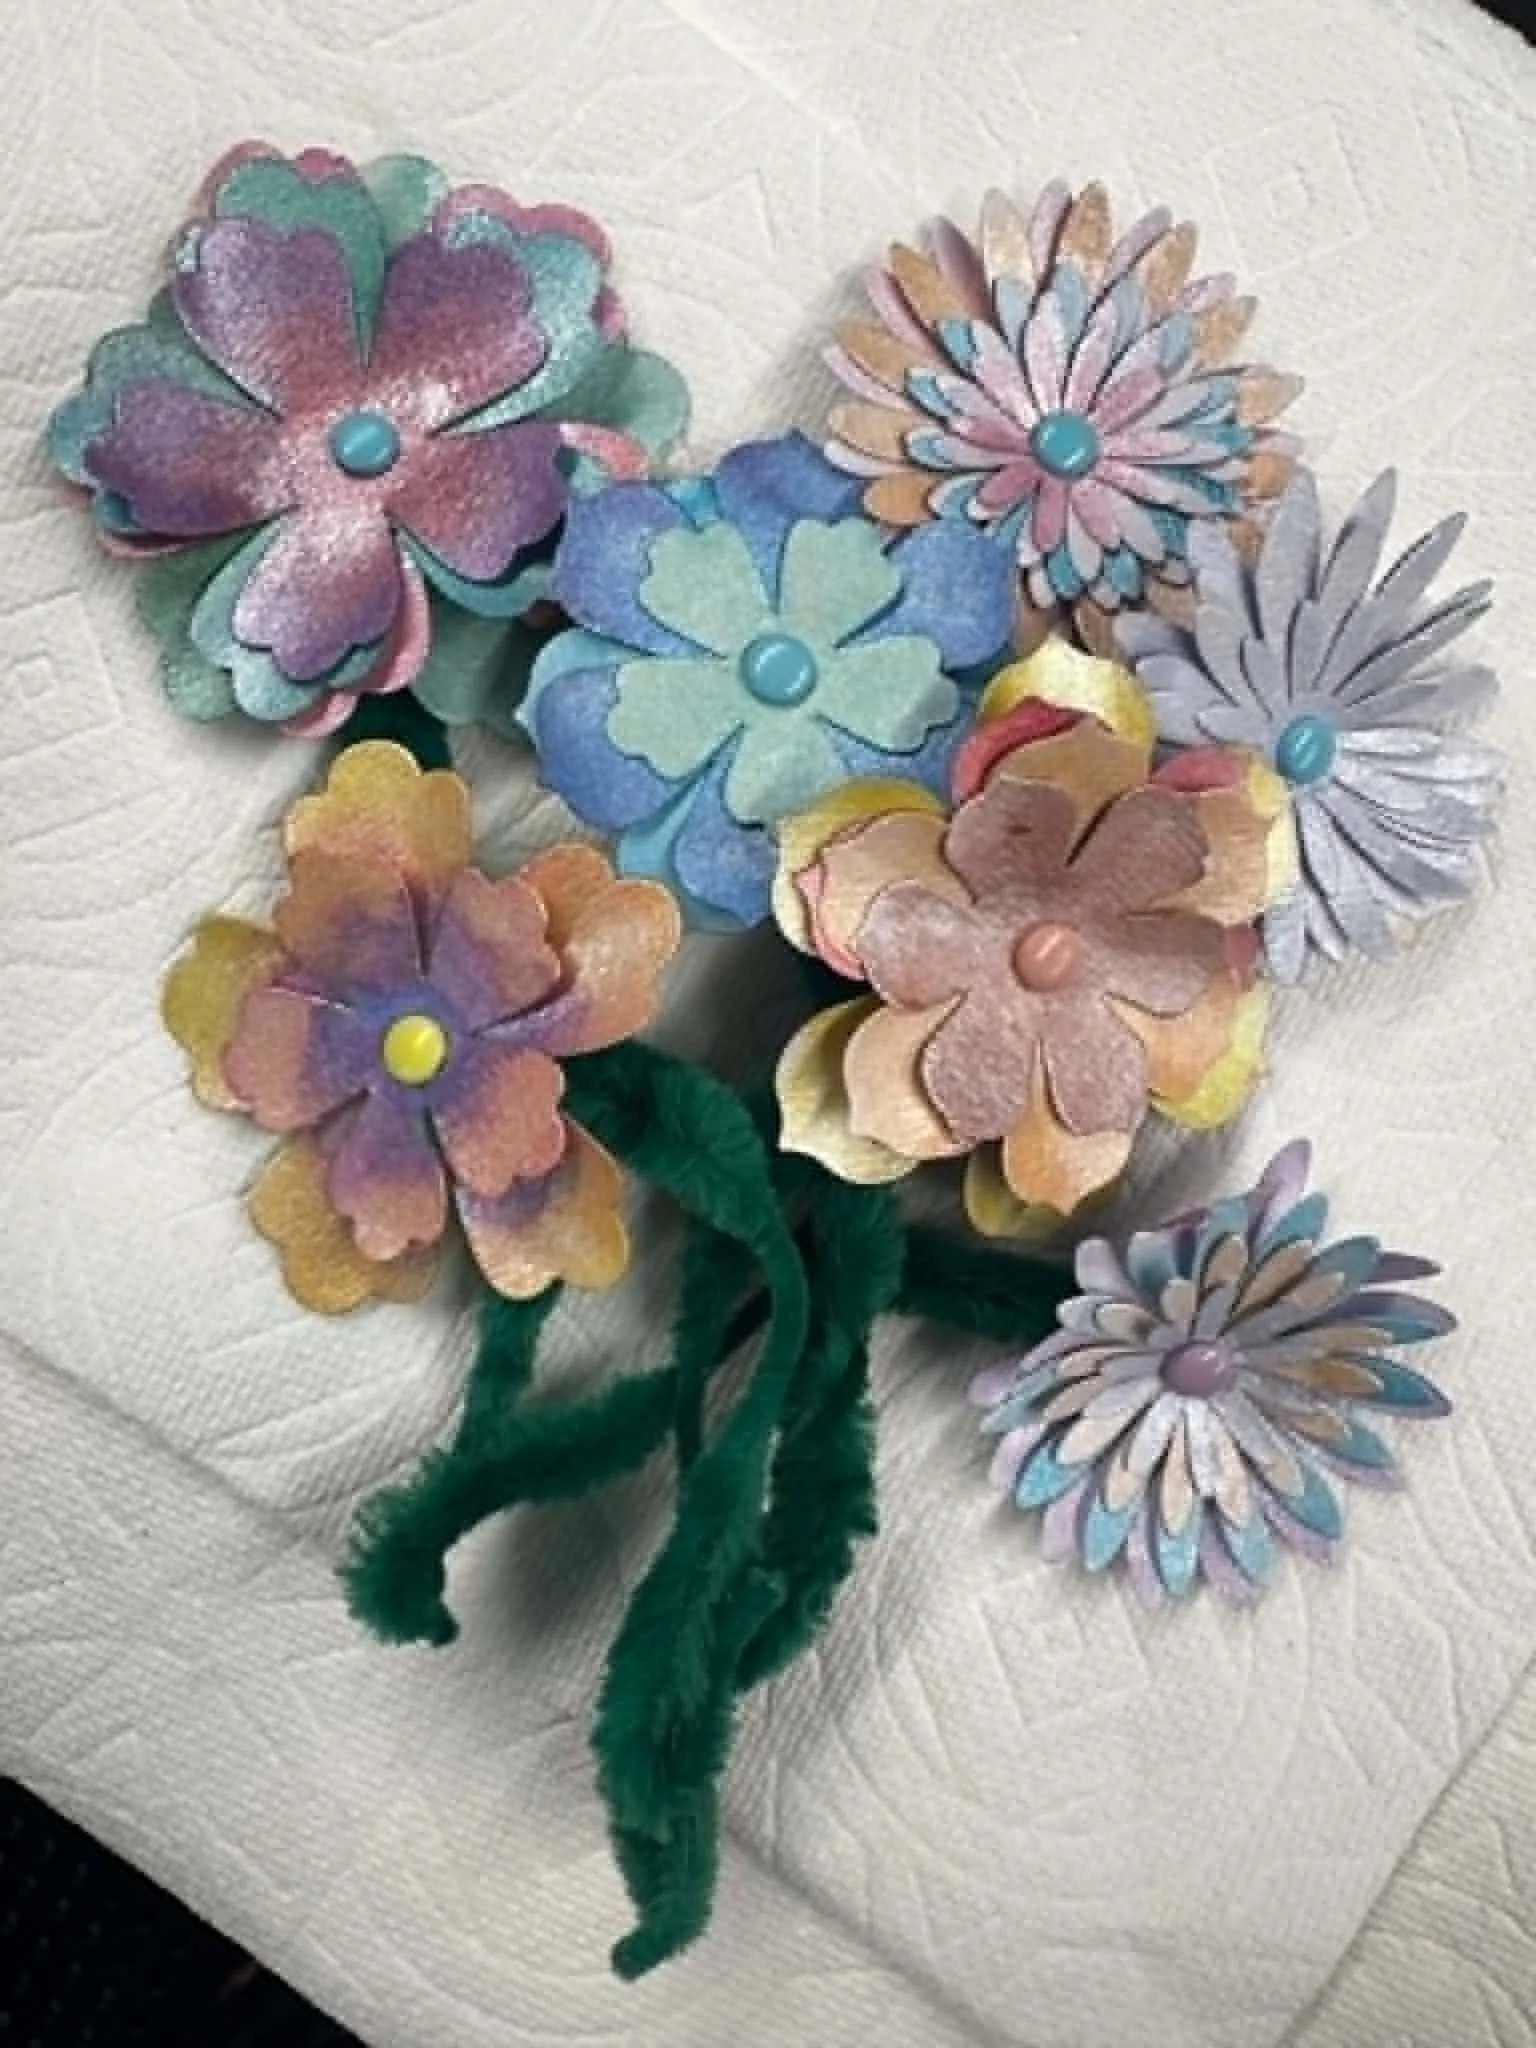

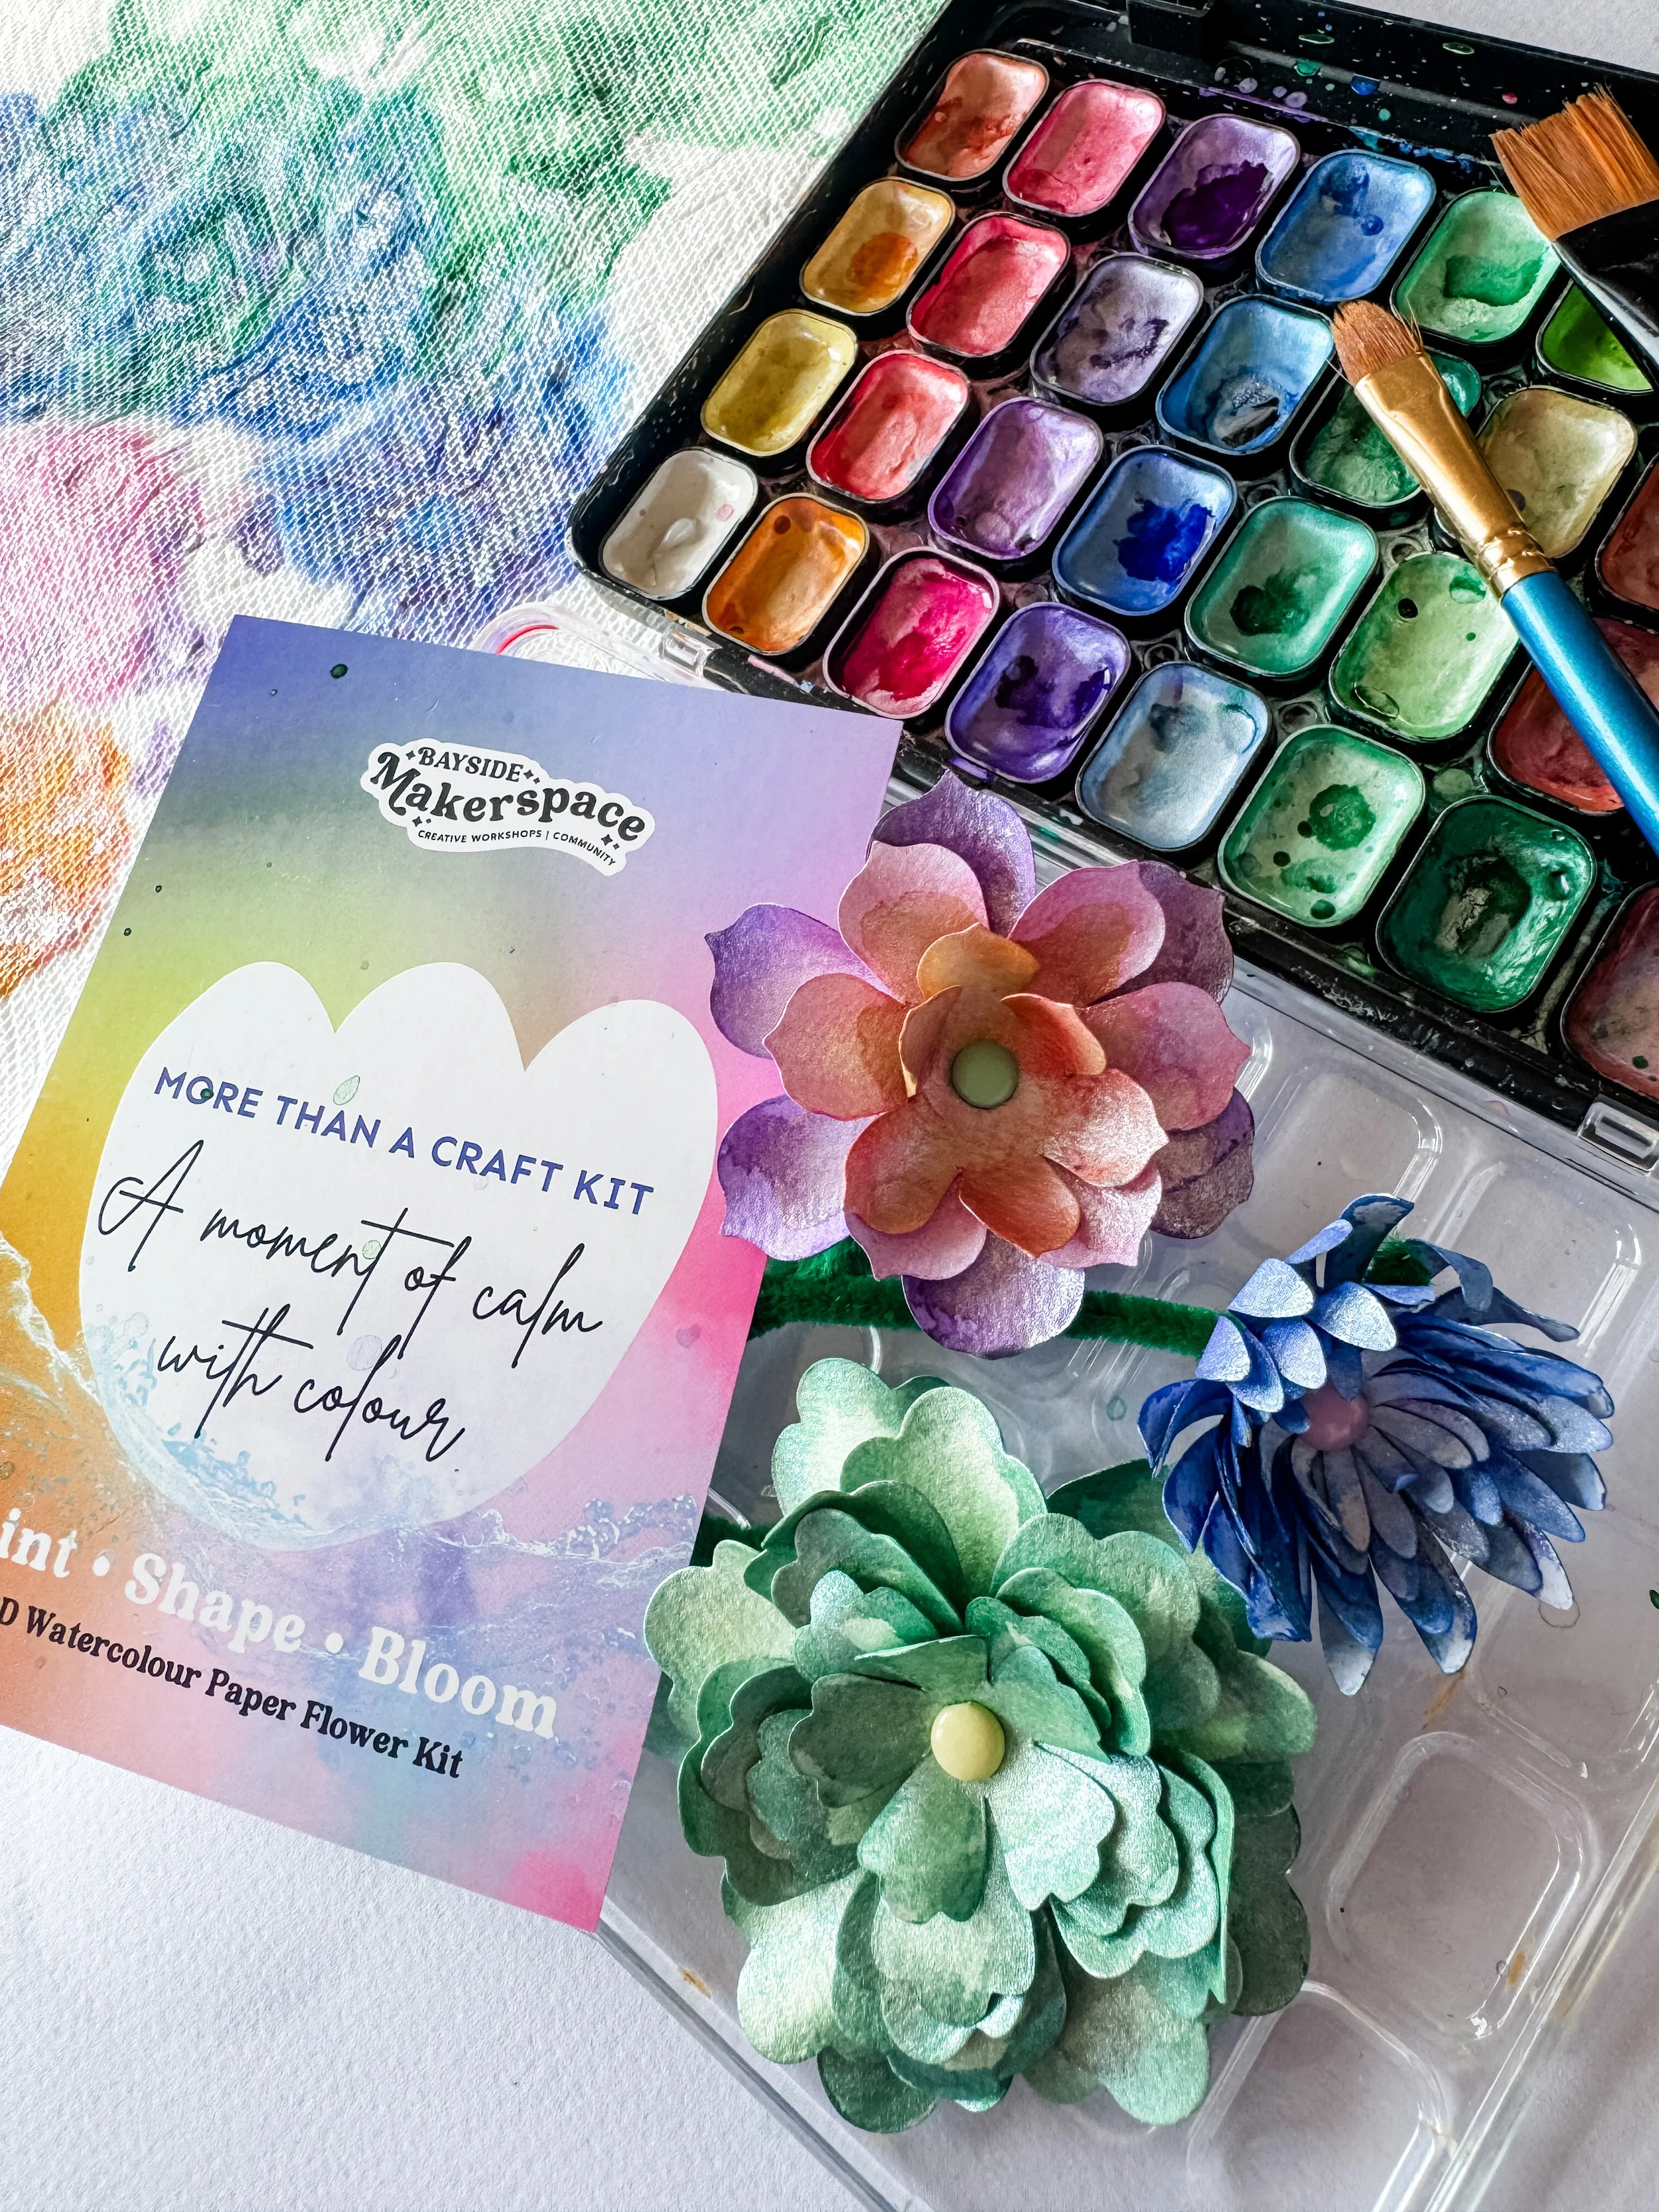
How to create your Watercolour Paper Flowers
Watch a tutorial
Tutorial of how to paint and sculpt the watercolour paper flowers in the kit.
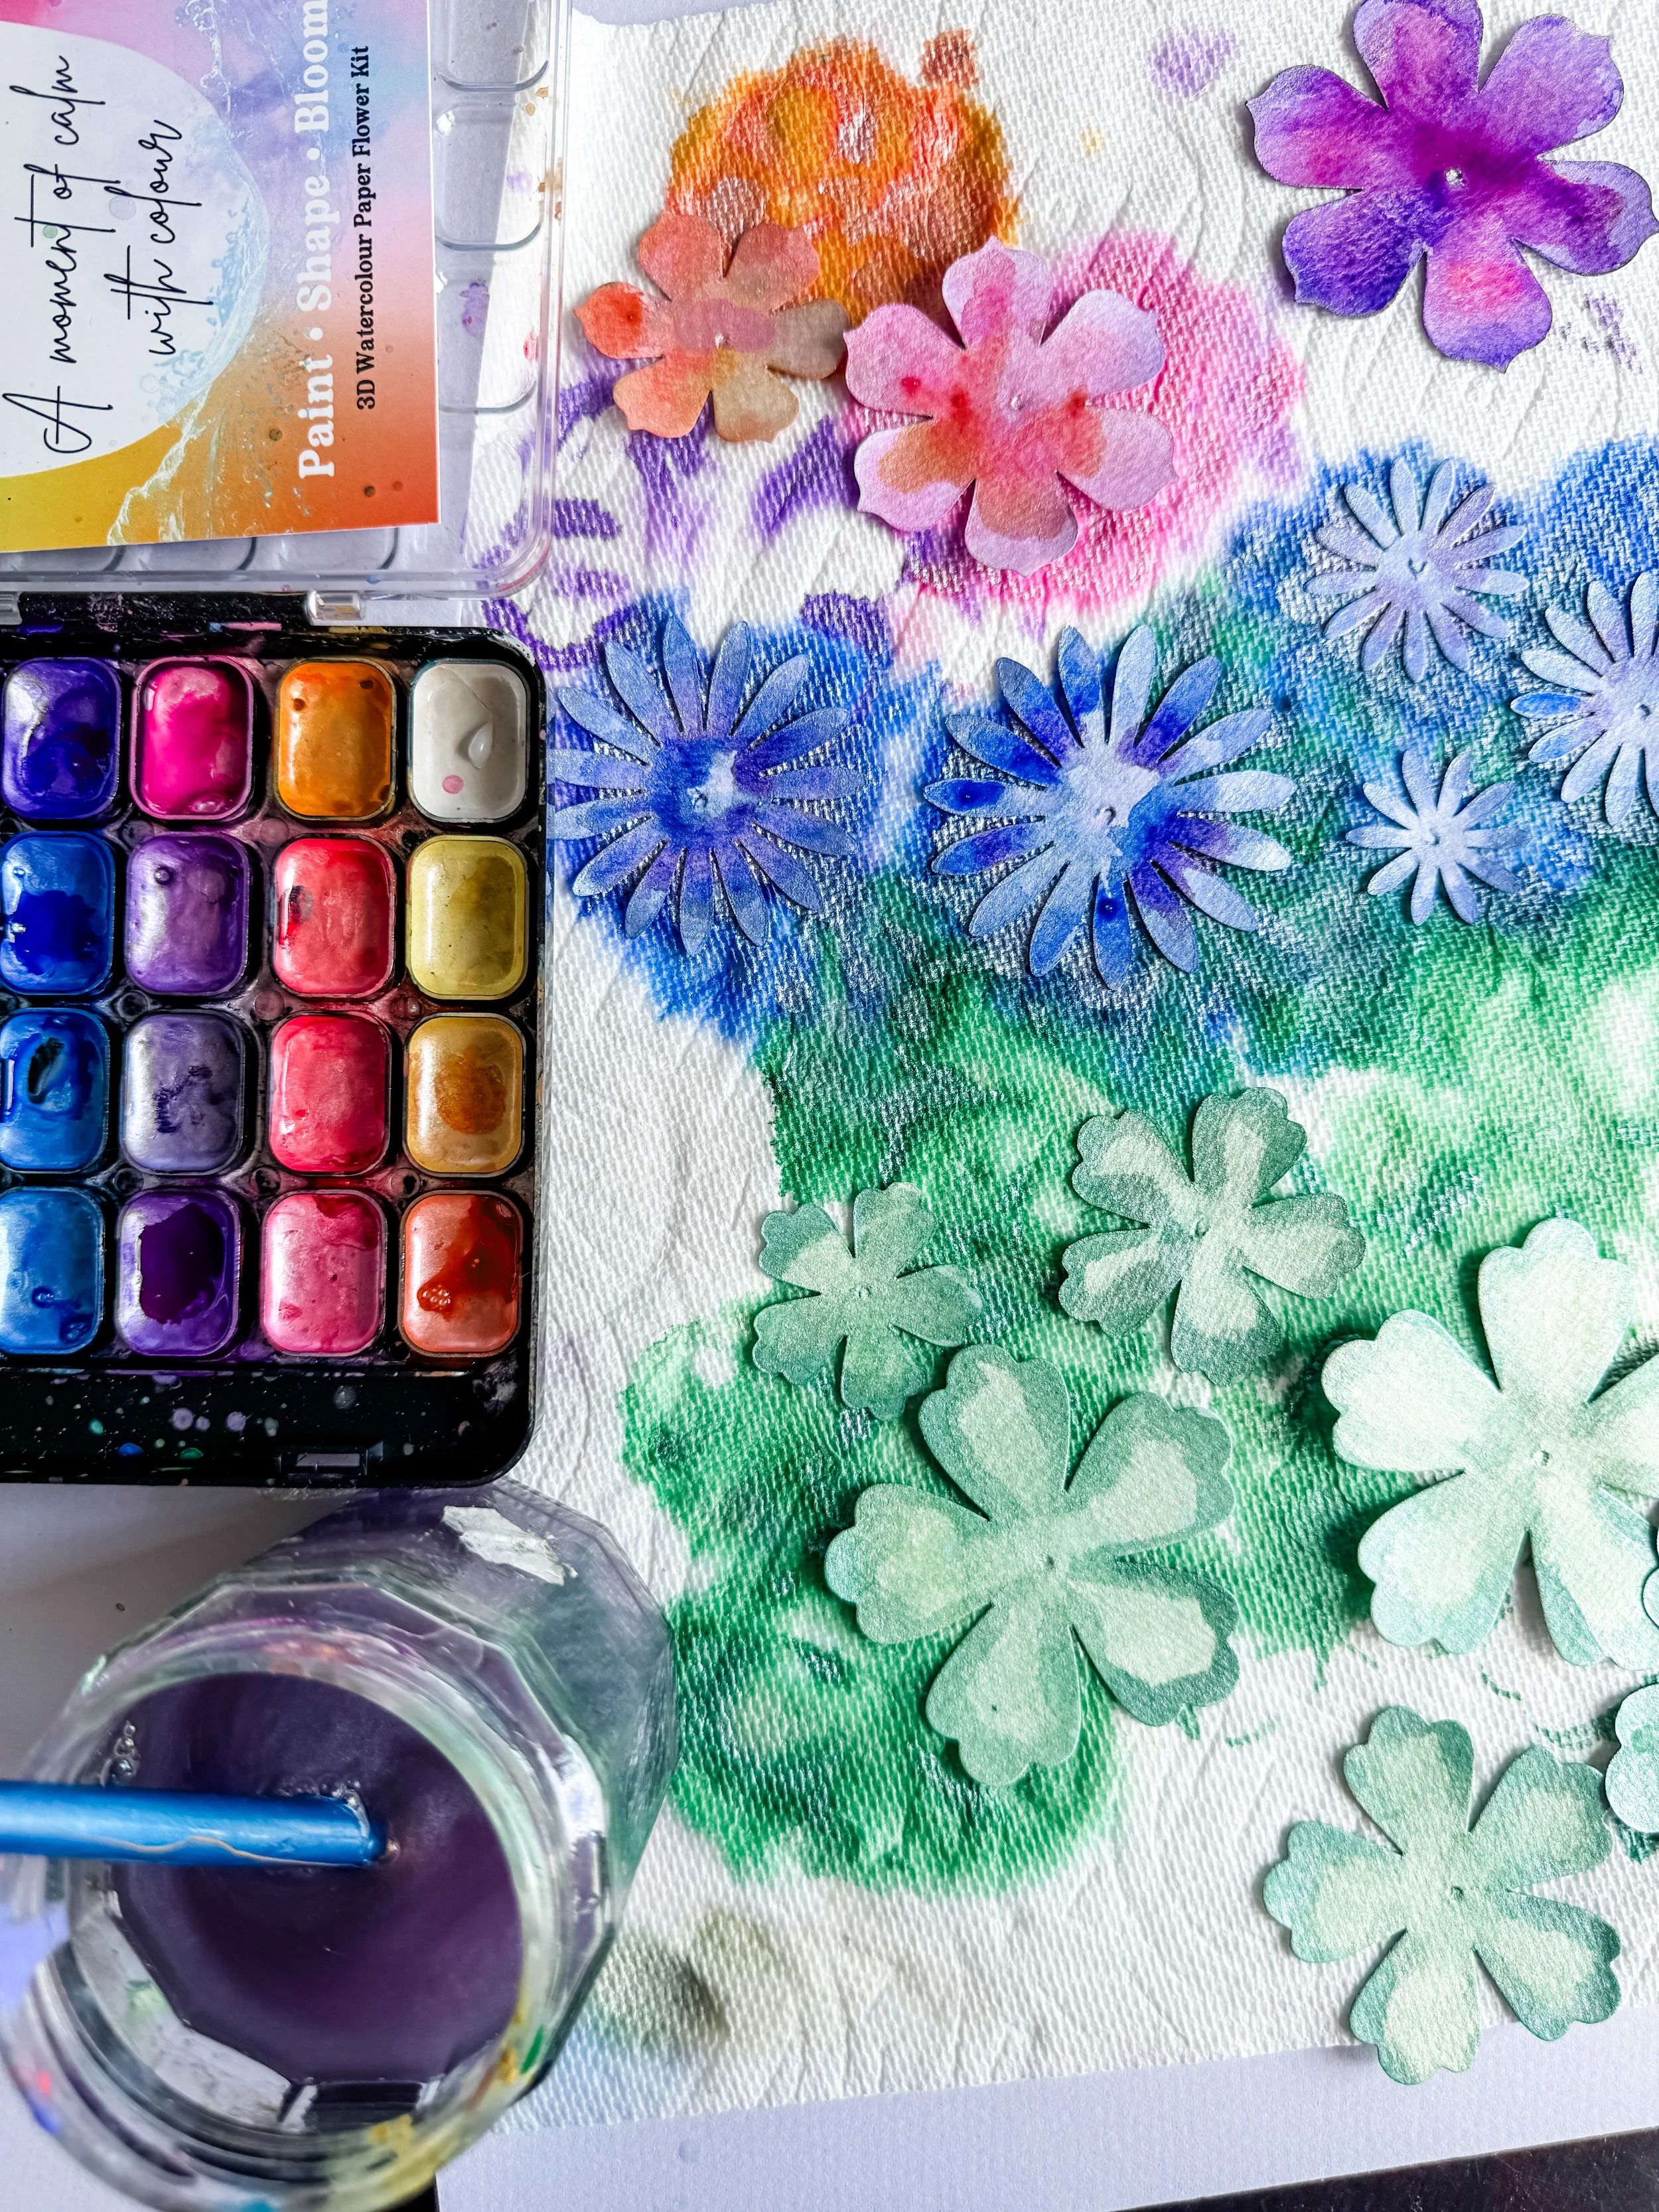
Step 1. Gather your pieces
Either choose pre-cut petals or cut your own from watercolour paper. Collect the pieces and lay out each petal/piece on your paper towel.
Step 2. Add your base wash
Paint your first base colour all over both sides with a quick watercolour wash, dip your brush into clean water and mix with the chosen water colour and get a base cover of colour on your pieces/petal. This layer is quite translucent.
Step 3. Experiment, blend & bloom
Now you can add some variations of colour to add texture and depth.
Wet on Wet blending
Apply clean water to parts of your flower first then add colour, this is a more transparent and organic texture.
Wet on Dry
Wet paint on Dry paper or layer. Let layers dry and then add a new colour on top.
Bloom
Another interesting method is to drop clean water droplets onto a painted section and this will create a bloom affect.
Step 4. Sculpt
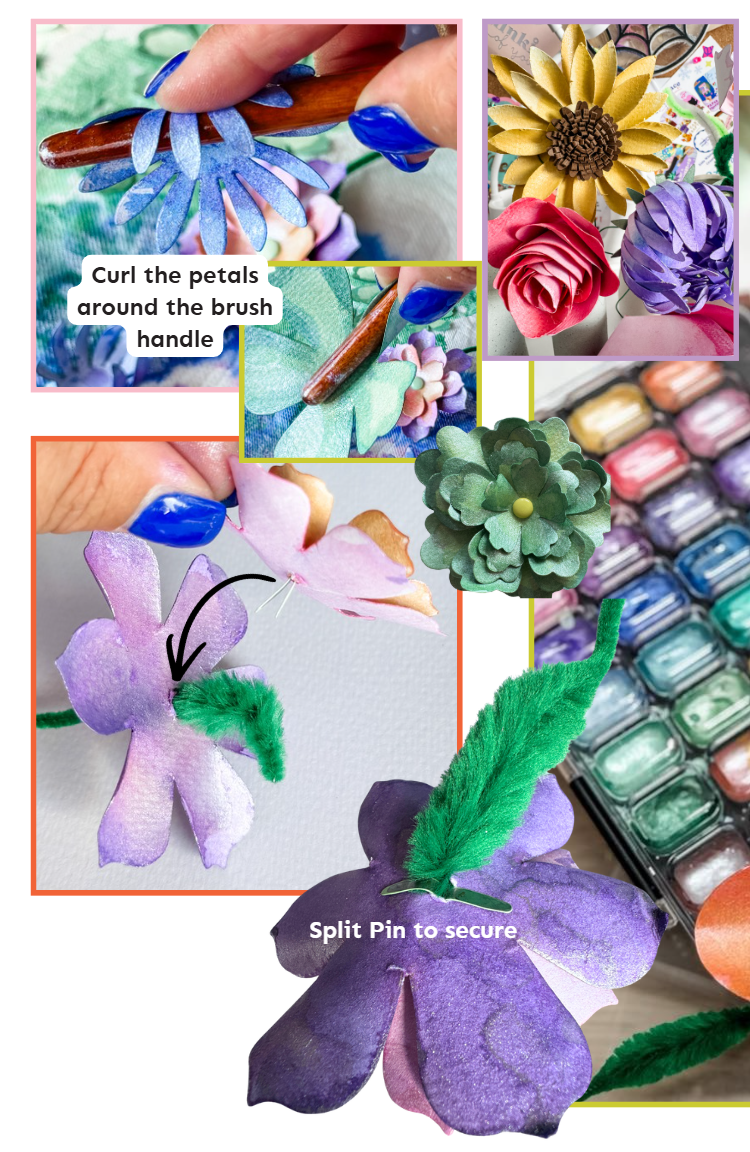
Once all your pieces are dry, use the brush handle to curl and sculpt each petal.
Use it vertically along the petal and push the petal to cuddle the brush or use the handle as a roller and roll the end of the petals inwards to curl.
Step 5. Layer your petals
Play with how you’d like to assemble your flowers, layering to see what shapes and colours make you happy, you can have up to 10 petals together on one pin.
Step 6. Assemble your flower
Pop a centre hole in your petal centres if not already done then thread the stem up through the very bottom layer and bend over on the top side of the petal so it’s secure.
Get a split pin and thread your layers (and any extra middle pieces) onto the pin from top to bottom as the pin top is the centre of the flower. when you get to the bottom layer the pin goes in the same hole as the stem has been secured then the split pins split apart to sandwhich your flower all together.
Gather a few together to arrange a bouquet or leave it on it’s own and pop on a gift or give to someone to brighten their day.